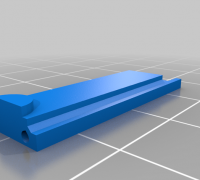
Free 3D file Longer Nintendo Switch Jig for 1mm Paperclip 📎・3D printer design to download・Cults
Por un escritor de hombre misterioso

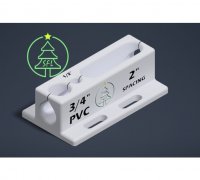
## Usage 1. Print 1. Put unfolded paperclip / wire in (solder works great too!) 1. Put Switch into RCM by sliding on right side and holding VOL+ and pressing Power ## Debugging This might not be the greatest design of these as this is only v6 I printed and tested, but it does work. The paperclip I used wasn't cut down, but I did use a lighter to burn off any coating (if there was any, idk). The final paperclip had a resistance of 300-1000 Ohm, total length of ~8cm. ## Design decisions 1. Asymmetric: worked best in tests. 1. Longer: my own preference for jigs, to not lose them. Also makes using actual paperclips easier as you don't have to cut them short. 1. Thicker wire: up to 1.2mm wire should work, all my paperclips were 1mm+ so I needed a larger design 1. Simple top: there's a lot of space for designs on the top, but let's appreciate the clean look.

3D Printed Jig Issue - The Independent Video Game Community
▷ switch rcm jig paper clip 3d models 【 STLFinder 】

3D Printable Switch Girl by Jigglystix
rcm jig paperclip 3D Models to Print - yeggi
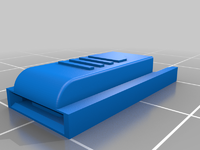
Free 3D file NINTENDO SWITCH RCM JIG CAT5 🎲・3D printable model to download・ Cults

STL file Nintendo Switch Dock Arcade 🕹️・3D printable model to download・ Cults

3D Printed Jig Issue - The Independent Video Game Community
Thingiverse - Digital Designs for Physical Objects
Thingiverse - Digital Designs for Physical Objects
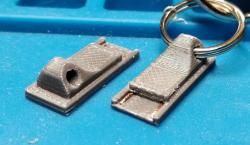
Free STL file Yet Another Switch RCM Joycon Jig with Keyring 🗝️・3D printing template to download・Cults
paperclip rcm jig 3D Models to Print - yeggi - page 2
▷ switch rcm jig paper clip 3d models 【 STLFinder 】
zipper pull using paperclip 3D Models to Print - yeggi - page 5
▷ 3d print nintendo switch jig 【 STLFinder 】